Working in Codeflow IDE
Are you ready to make Codeflow your workflow? 🔥
This page covers what to expect when using Codeflow IDE.
What is Codeflow IDE?
Codeflow IDE is a fully fledged desktop-grade dev environment capable of running your whole workflow - from production-level dev work to reviewing pull requests.
It is designed for enabling you to quickly spin up the entire environment without the hassle of cloning and installing dependencies.
Fun fact
At StackBlitz, we have been using Codeflow IDE in our daily internal development, including PR reviews. This docs site was also built on Codeflow IDE and Web Publisher!
Opening GitHub repositories in Codeflow IDE
To open a GitHub repository in Codeflow IDE, swap "github.com" with "pr.new" in the repository URL.
Intrigued by "pr.new"? 👀
If you're curious about this short URL, learn about the full potential of "pr.new".
If you are not logged into StackBlitz, while this product is in beta, you will be prompted to log in or create a new account.
Migrating your local VSCode settings to Codeflow IDE
To migrate the settings from your local VSCode to Codeflow IDE, follow these steps:
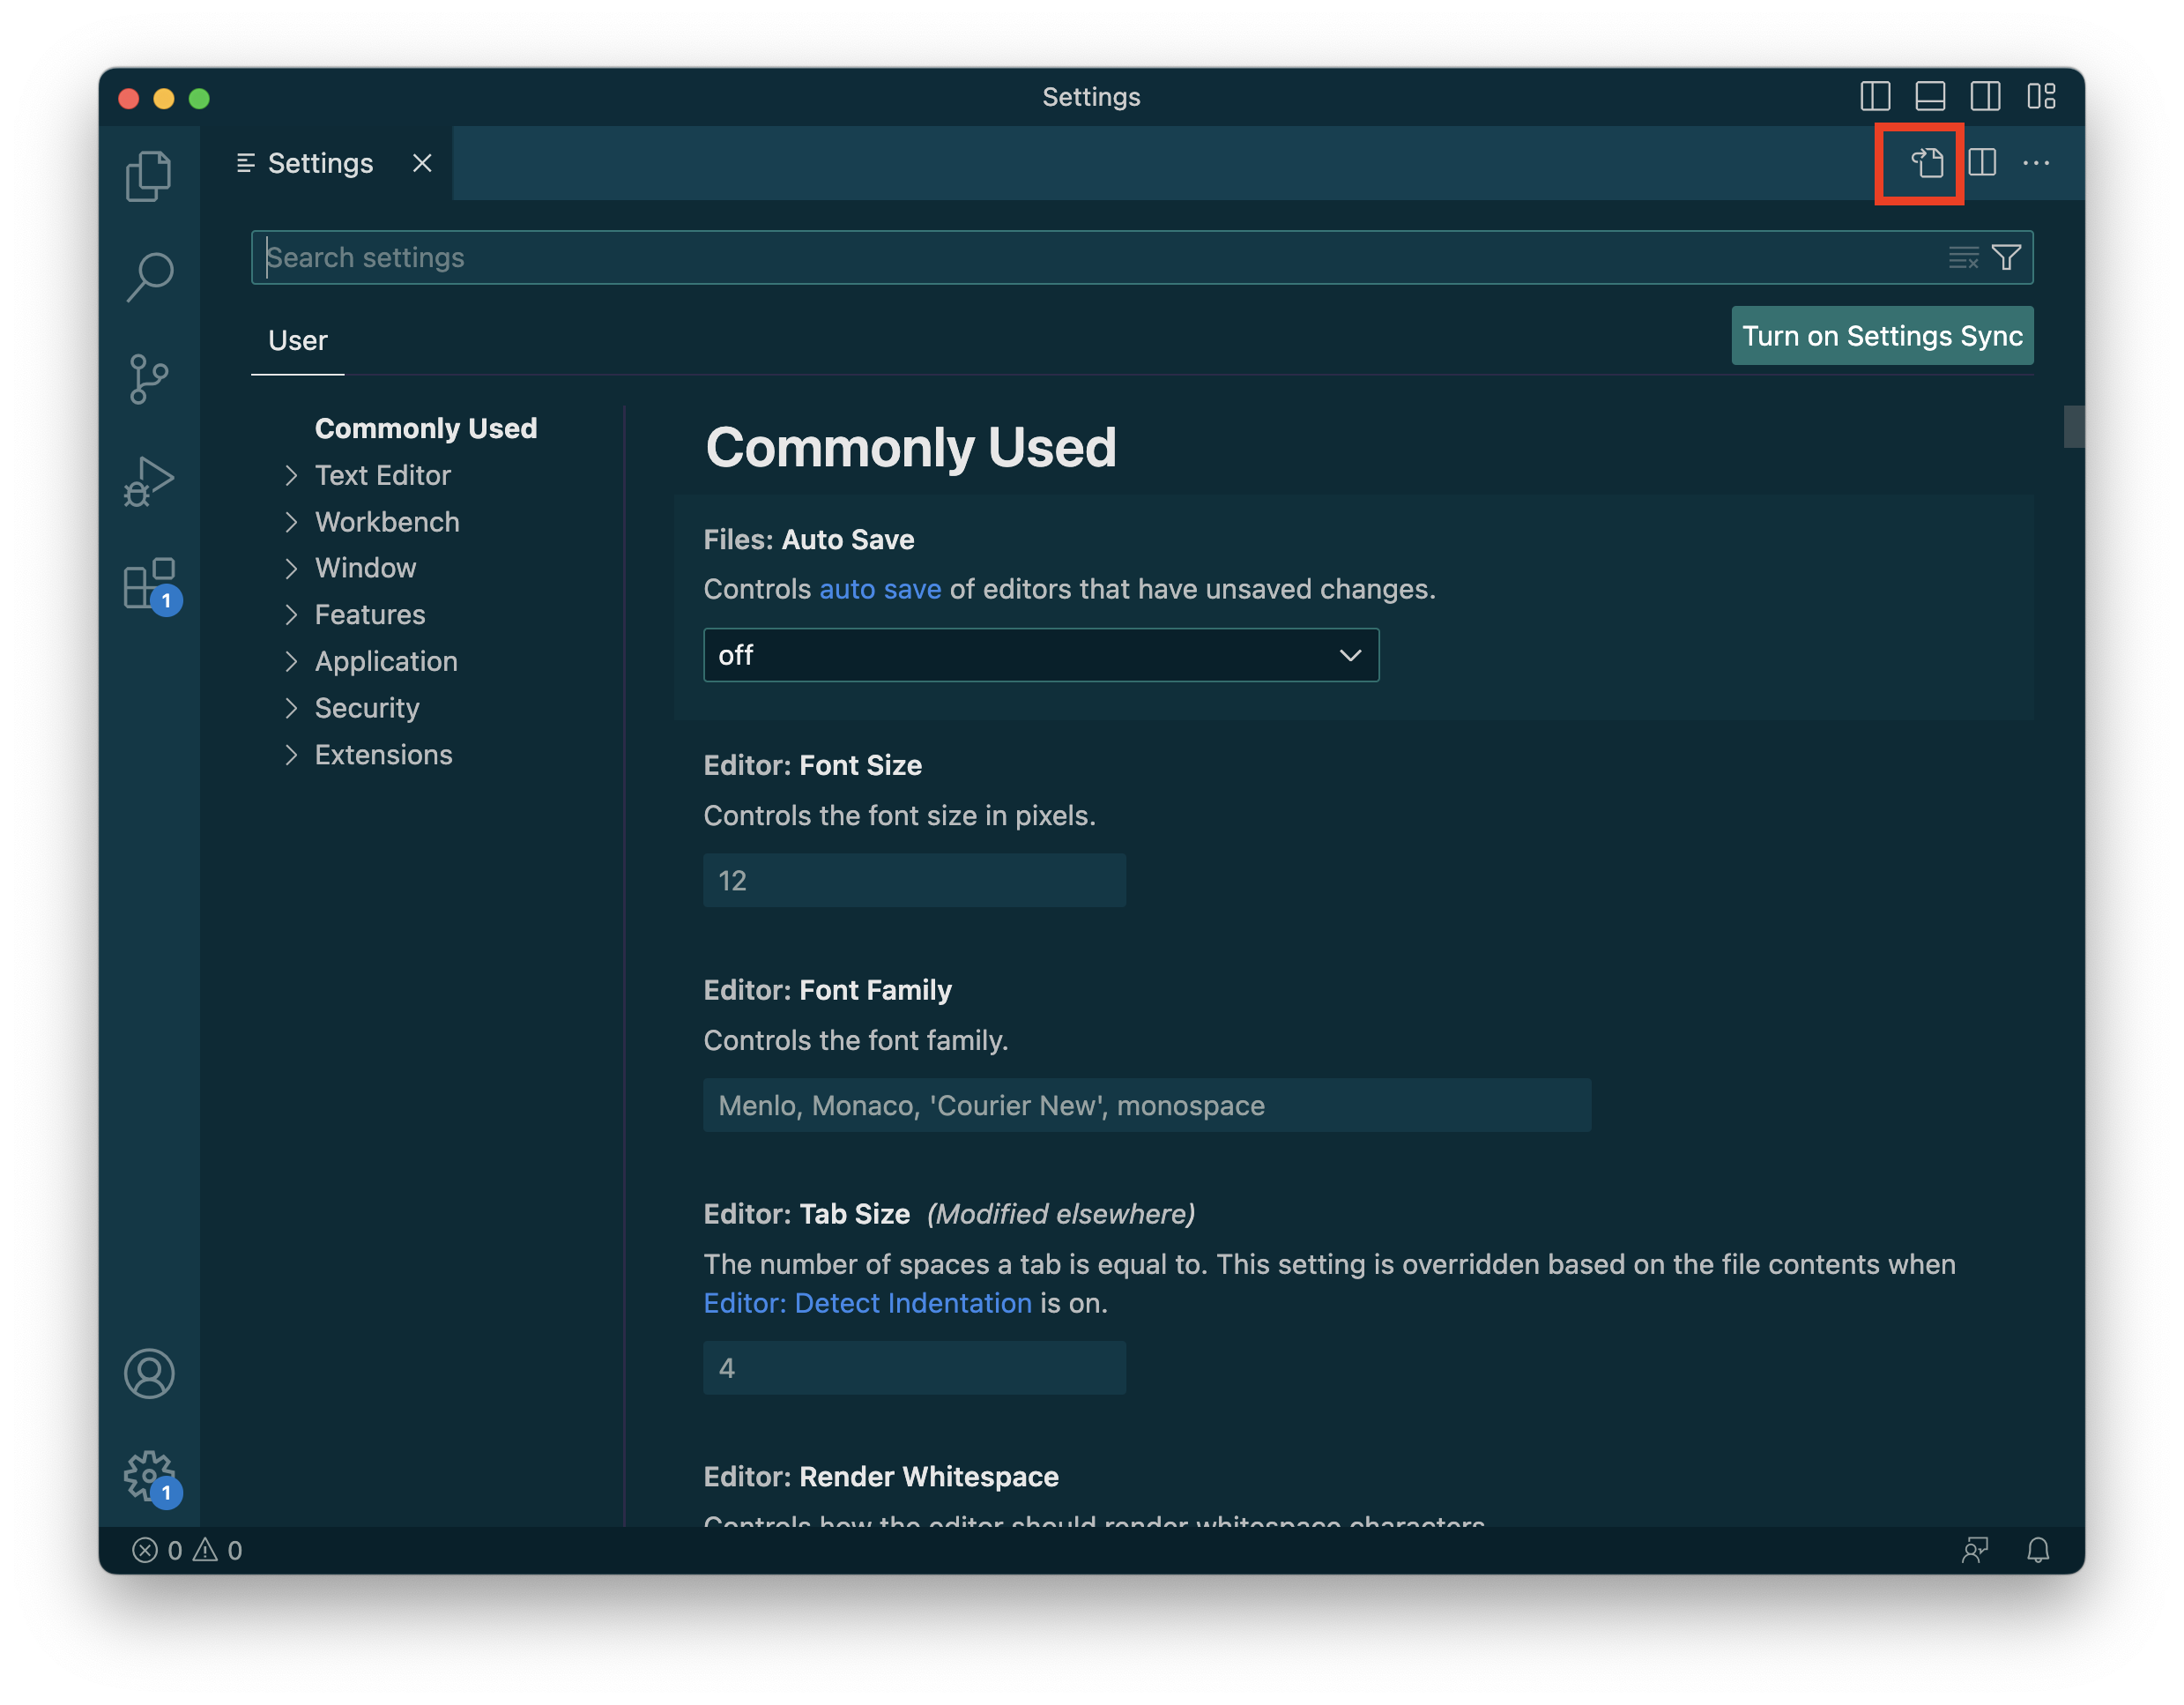
- In VSCode open the Settings tab (
cmd+,on MacOS oralt+,on Windows and Linux). - Click on the "Open Settings (JSON)" button, located on the top right side of the view:
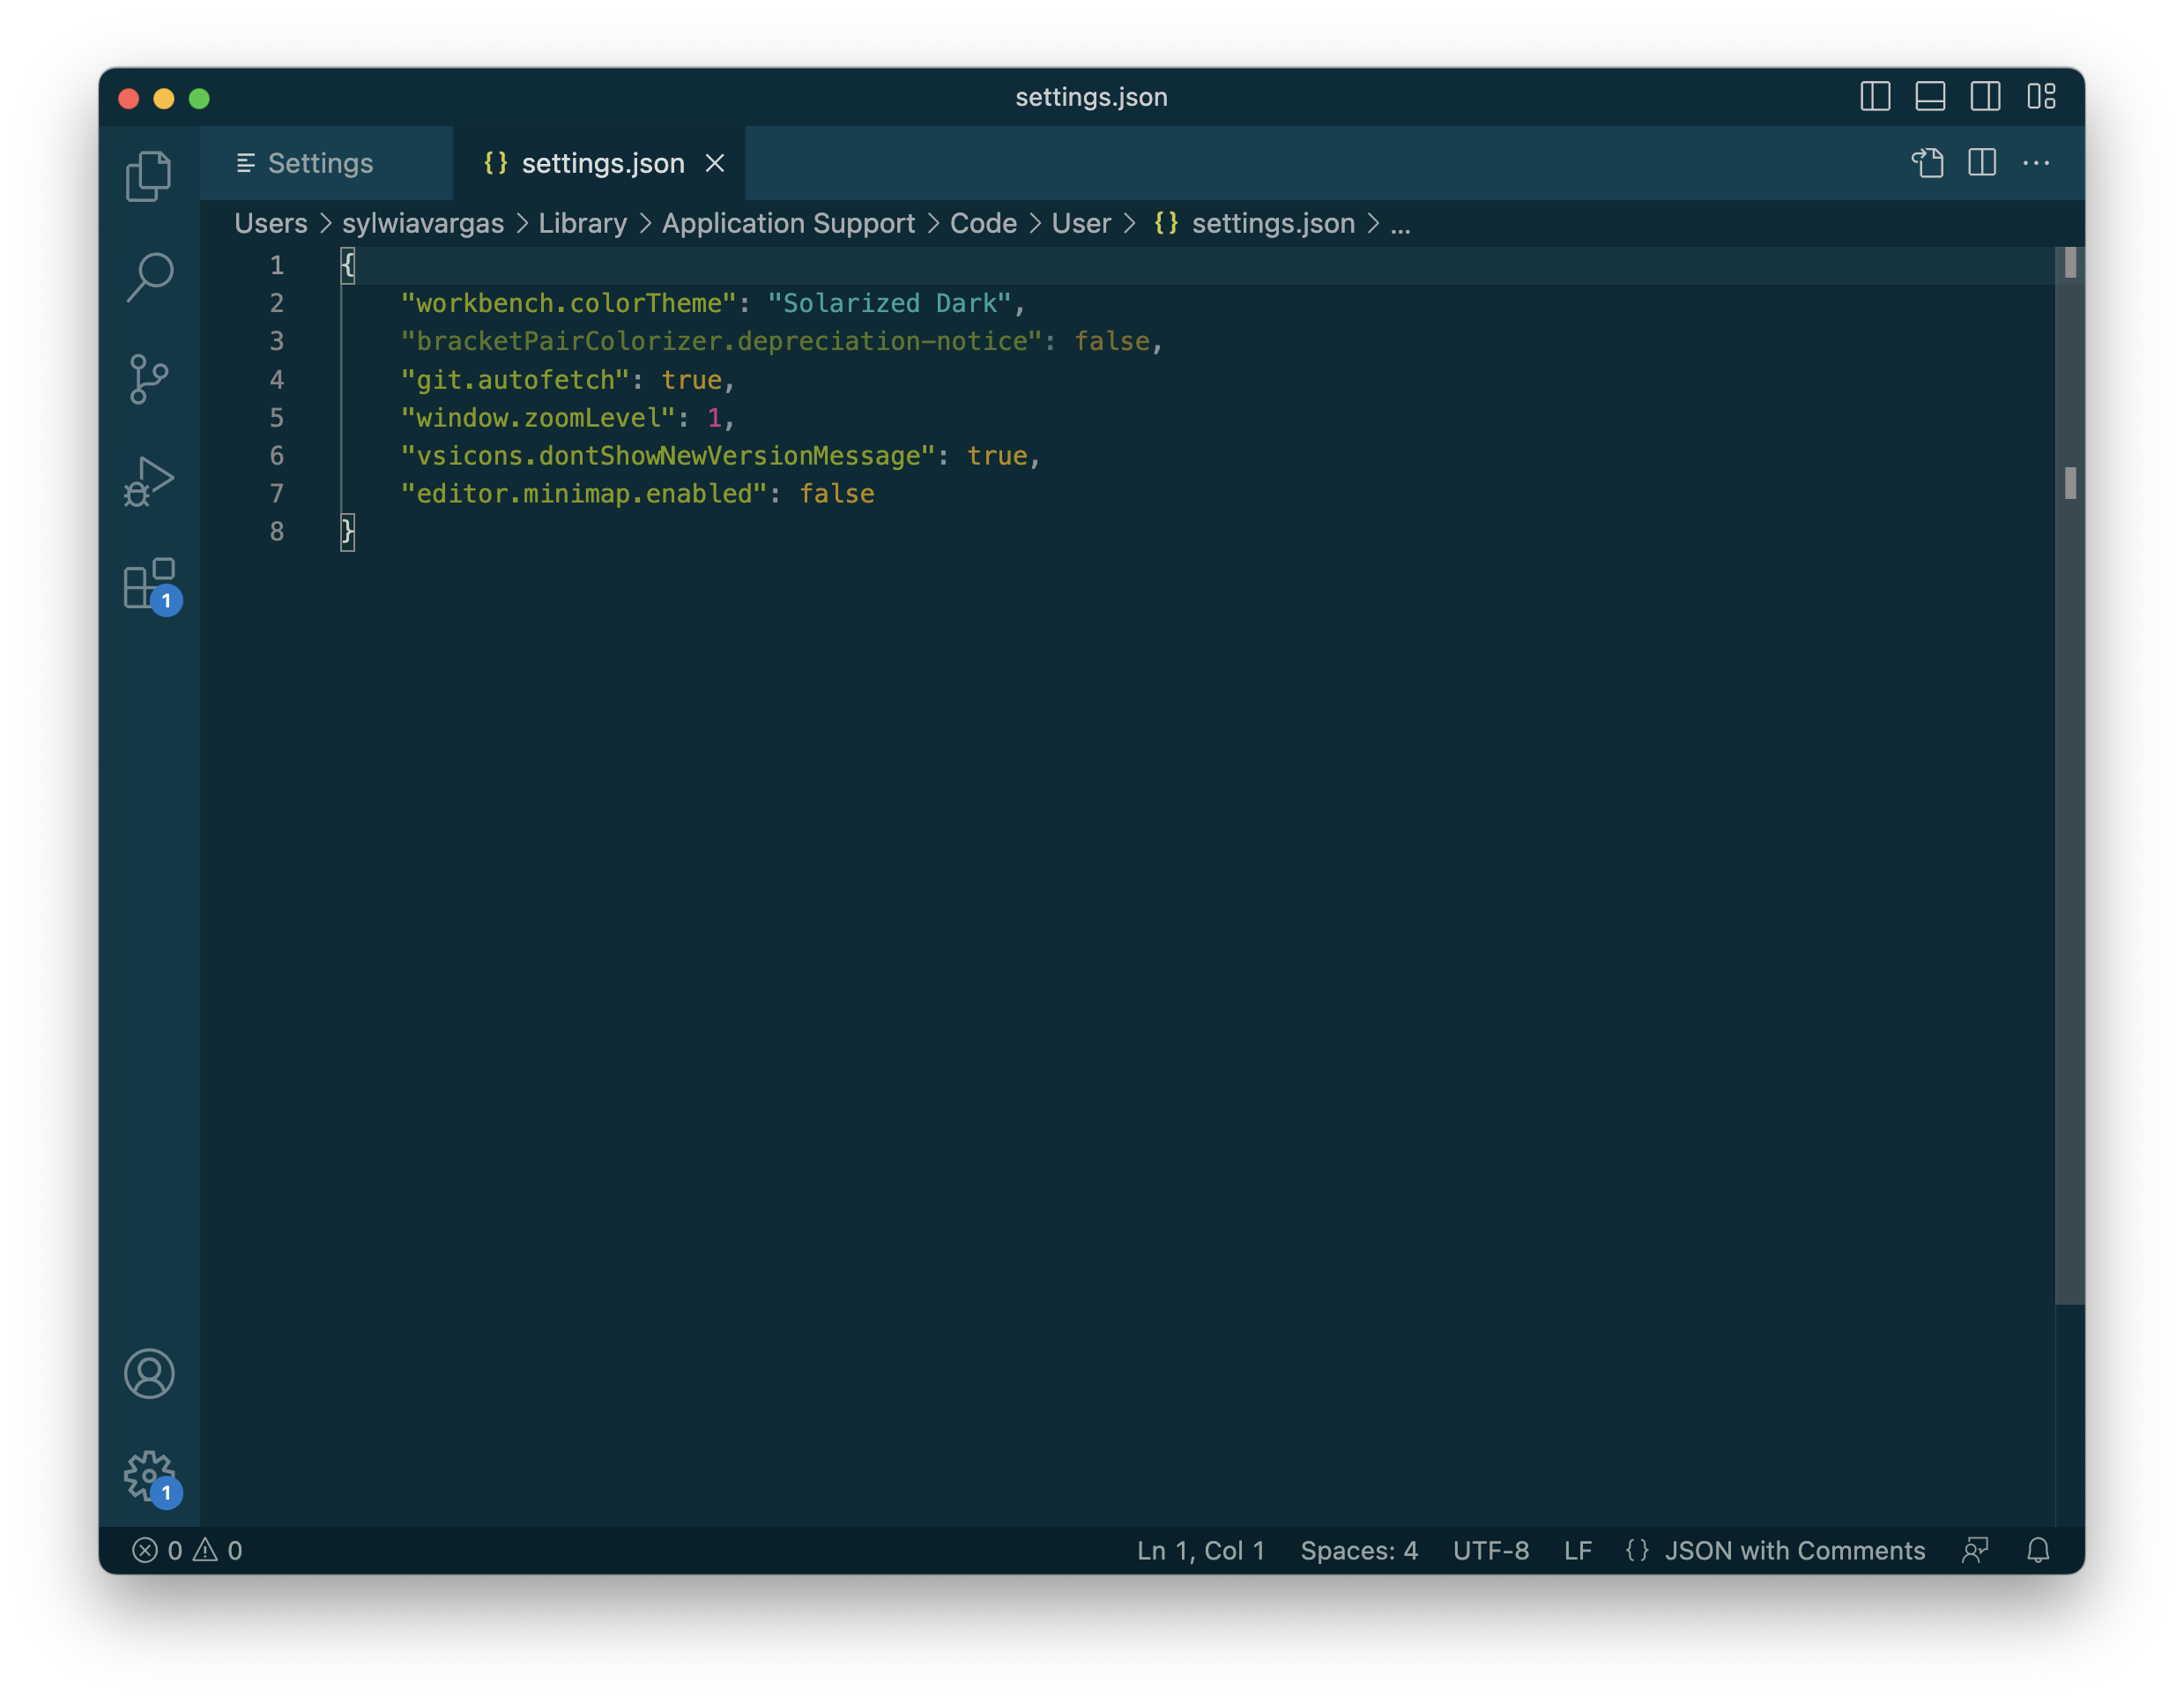
- This tab contains your VSCode settings. Copy its contents:
- Repeat these actions in Codeflow: open the settings tab (you can use
cmd+,key binding on MacOS oralt+,on Windows or Linux), open the JSON view, and paste the copied settings - if you want, you can replace the default settings with the ones you copied from your local environment.
The gif below demonstrates these steps:
Saving changes
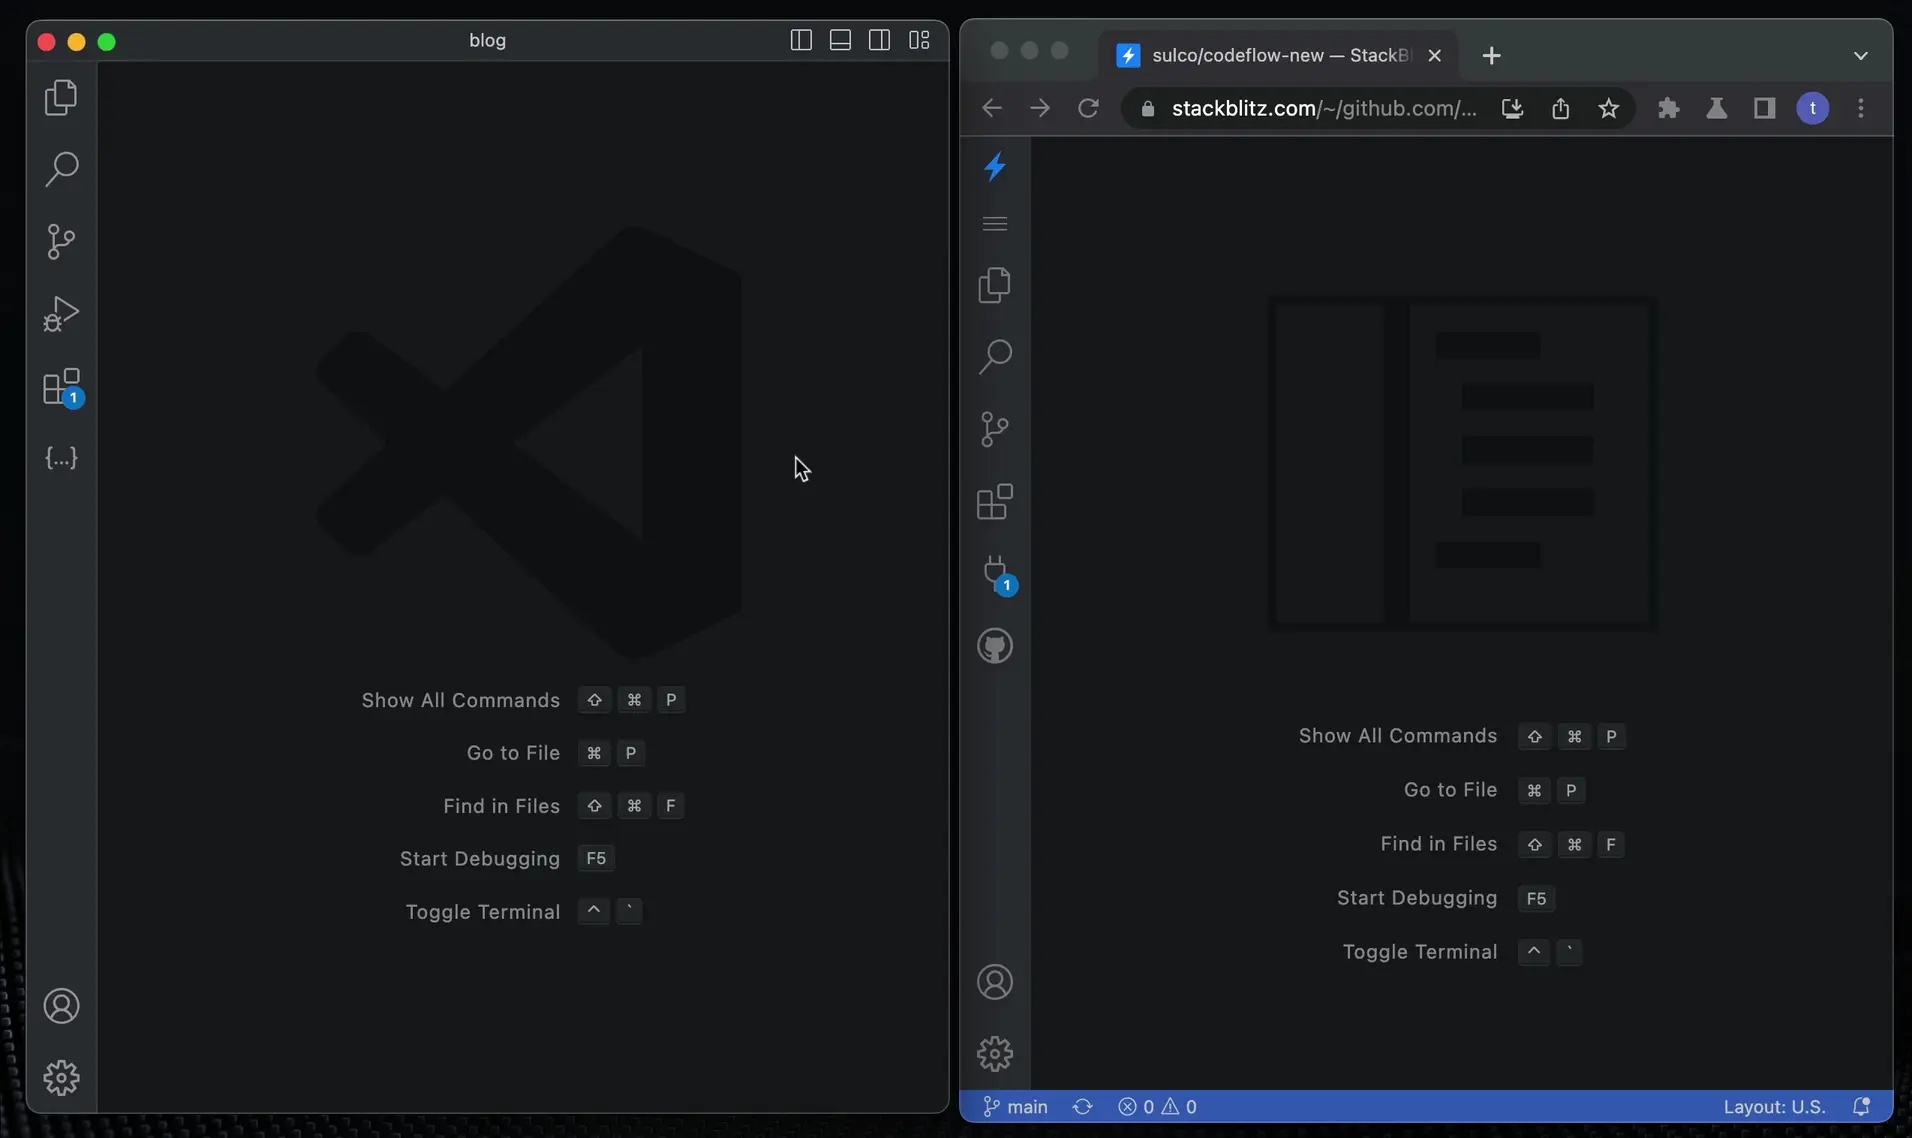
Whenever a file is changed, you will see a white dot next to its tab in the editor.
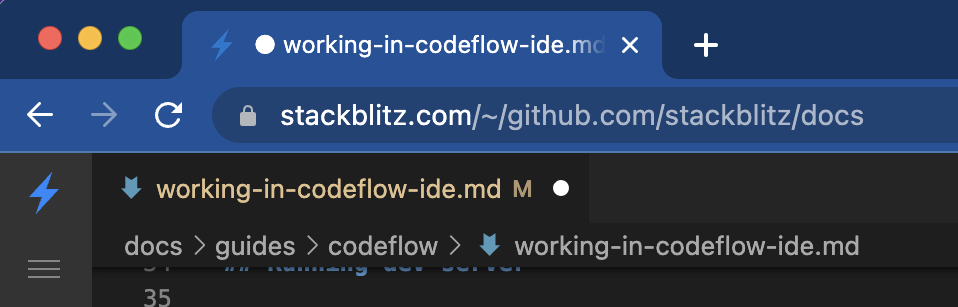
Moreover, you will also see that dot on the tab in your browser to remind you that you have unsaved changes.
WARNING
During the early beta, Codeflow IDE currently does not persist changes between sessions. This feature is included in our product roadmap and is slated to ship in Q4 '22.
🚨 Please remember to commit and push your changes before closing the page.
Making a PR with Codeflow IDE
Let's add a file to ilovecodeflow.com.
Follow these steps:
- Open the link in a new tab. In the GitHub URL of the repository, replace
github.comwithpr.new. - Open the Preview by clicking on the popup notification in the bottom right corner.
- Introduce some changes - for instance, in the
/src/pages/LoveNote.astrofile change the emojis. - Verify the changes in the Preview on the right.
- Depending on your role:
- commit the changes by selecting "Source Control" icon in the left vertical navigation bar, clicking "Create & Push Branch", and naming the branch; or
- fork the repository.
- Click on "Commit & Push" to send the changes to GitHub.
- Finally, you can submit your pull request by clicking on the "Open New PR" button 🥳
Reviewing a PR with Codeflow IDE
Let's look at this suspicious PR.
Follow these steps:
- Open the link in a new tab. In the GitHub URL of the repository, replace "github.com" with "pr.new".
- Codeflow IDE will spin up in the "PR Review mode". Open the Preview by clicking on the popup notification in the bottom right corner.
- Compare suggested changes with the original file. You can also see the edits rendered in the Preview panel if you navigate to the edited page - in this case, the "What is StackBlitz" page.
- You can add comments by clicking on the "+" icons, read other comments, or start a review.
- If you no longer want to see the changes in the "PR Review mode", close the relevant files.
Using the CodeflowApp bot
CodeflowApp is a friendly bot, which provides a one-click link that spins up the whole environment for pull requests and issues. No more context-switching or branch-checkouts, just a new browser tab with a full IDE and a dev server running.

To integrate the bot, please follow the instructions on Integrating CodeflowApp bot.
Troubleshooting
Out of memory error
It may happen that having a few Codeflow IDE or StackBlitz projects open at the same time may cause your browser to run out of memory. In this case, you will see the following popup:
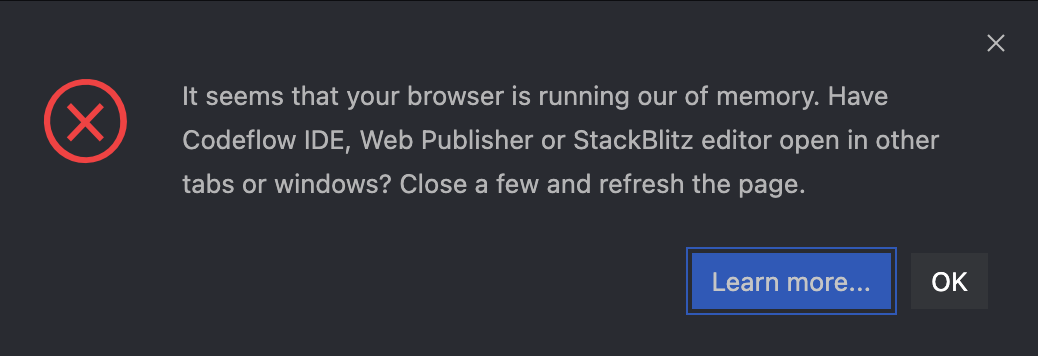
In your browser's console, you may see the following error:
RangeError: WebAssembly.instantiate(): Out of memory: wasm memory
When too much memory is allocated to browser processes, browsers will run out of memory. This can happen if you open too many StackBlitz projects at the same time. This includes our editor, Codeflow IDE, and Web Publisher - or if a page features too many StackBlitz embeds running at the same time.
To free up memory, close other StackBlitz projects in other tabs or windows, and refresh the page.
Preview doesn't work
If the Preview doesn't work, oftentimes browser configuration or browser incompatibility is the culprit. Please see this page for troubleshooting.
Preview stopped working / is not responding
Please note that, depending on the framework, some changes may cause the dev server to stop running, which in turn causes the Preview to either not respond to new updates or show an error screen ("Unable to connect to local.webcontainer.io").
Check in the terminal if the dev server is still running. If you want to restart it, click in the terminal window and:
- press
ctrl+cto "kill" the server, - press the "up arrow" button to bring up the start command,
- press enter to run that command,
- in the popup notification in the bottom right corner, choose to open the Preview.
Reopening the Preview panel
If you close the Preview by accident, you can reopen it by selecting the icon of a plug entitled "Ports in use" from the left-side navigation bar. Note that you can open the Preview in a separate tab or as a split screen.