Quickstart (Existing Cluster)
TIP
For an in-depth custom installation setup and cluster operations, please follow Administrator Guide.
StackBlitz Enterprise is a Kubernetes application. You can follow these instructions to install the software on an existing Kubernetes cluster.
Alternatively, if you don't have Kubernetes set up for your organization, you can use our installer that has an embedded production-ready Kubernetes distribution packaged with it. You can view the Quickstart on Bare Metal for a quick way to get up and running without Kubernetes. Installing on an existing cluster is the recommended way of installing StackBlitz Enterprise.
For installing StackBlitz in environments with restricted network access, see Air-Gapped Installs.
Getting started on an Existing Cluster
Minimum Cluster Requirements:
- 16 vCPU,
- 32 GB Memory,
- 200 GB Storage,
kubectlaccess to the cluster,- Internet access from the cluster (see Configuring Firewall Rules for the list of hostnames/ips that require internet access for installation, updates and licensing),
- a machine with
kubectlaccess to the cluster.
INFO
If your cluster does not allow access to the external Internet, you will need to perform an Air-Gapped Install. Contact enterprise@stackblitz.com if you need the air-gapped installations enabled on your license.
Recommended Cluster Requirements:
- 16 vCPU
- 40 GB Memory
Make sure ports the following TCP ports are allowed to the Cluster:
- 22
- 80
- 443
- 8800
- 30902
- 8080
- 6443
StackBlitz uses Kots to manage the installation, licensing, and delivery of updates. On a machine that has kubectl access to the cluster, install the kots CLI with the following command:
curl https://kots.io/install | bashThen, install the Admin Console for StackBlitz by running:
kubectl kots install stackblitzYou will be prompted for a namespace in your cluster in which StackBlitz will be installed. By default, the namespace is stackblitz. Then you will be prompted to set a password for the Admin Console:
Enter the namespace to deploy to: stackblitz
 • Deploying Admin Console
    • Creating namespace ✓
    • Waiting for datastore to be ready ✓
Enter a new password to be used for the Admin Console:
After choosing and submitting, you will see the following screen:
  • Waiting for Admin Console to be ready ✓

  • Press Ctrl+C to exit
  • Go to http://localhost:8800 to access the Admin Console
Navigate to http://localhost:8800 to access the Admin Console. You will be prompted to log in using the password you chose before.
TIP
To access the Admin Console again, run kubectl kots admin-console --namespace yournamespace (replacing yournamespace with your namespace).
License registration
After logging in to the Admin Console, you'll be prompted for a License.
Drag and drop your license file onto the webpage to upload it. Once this step completes, you will be presented with EE site configuration screen. It should look like this:
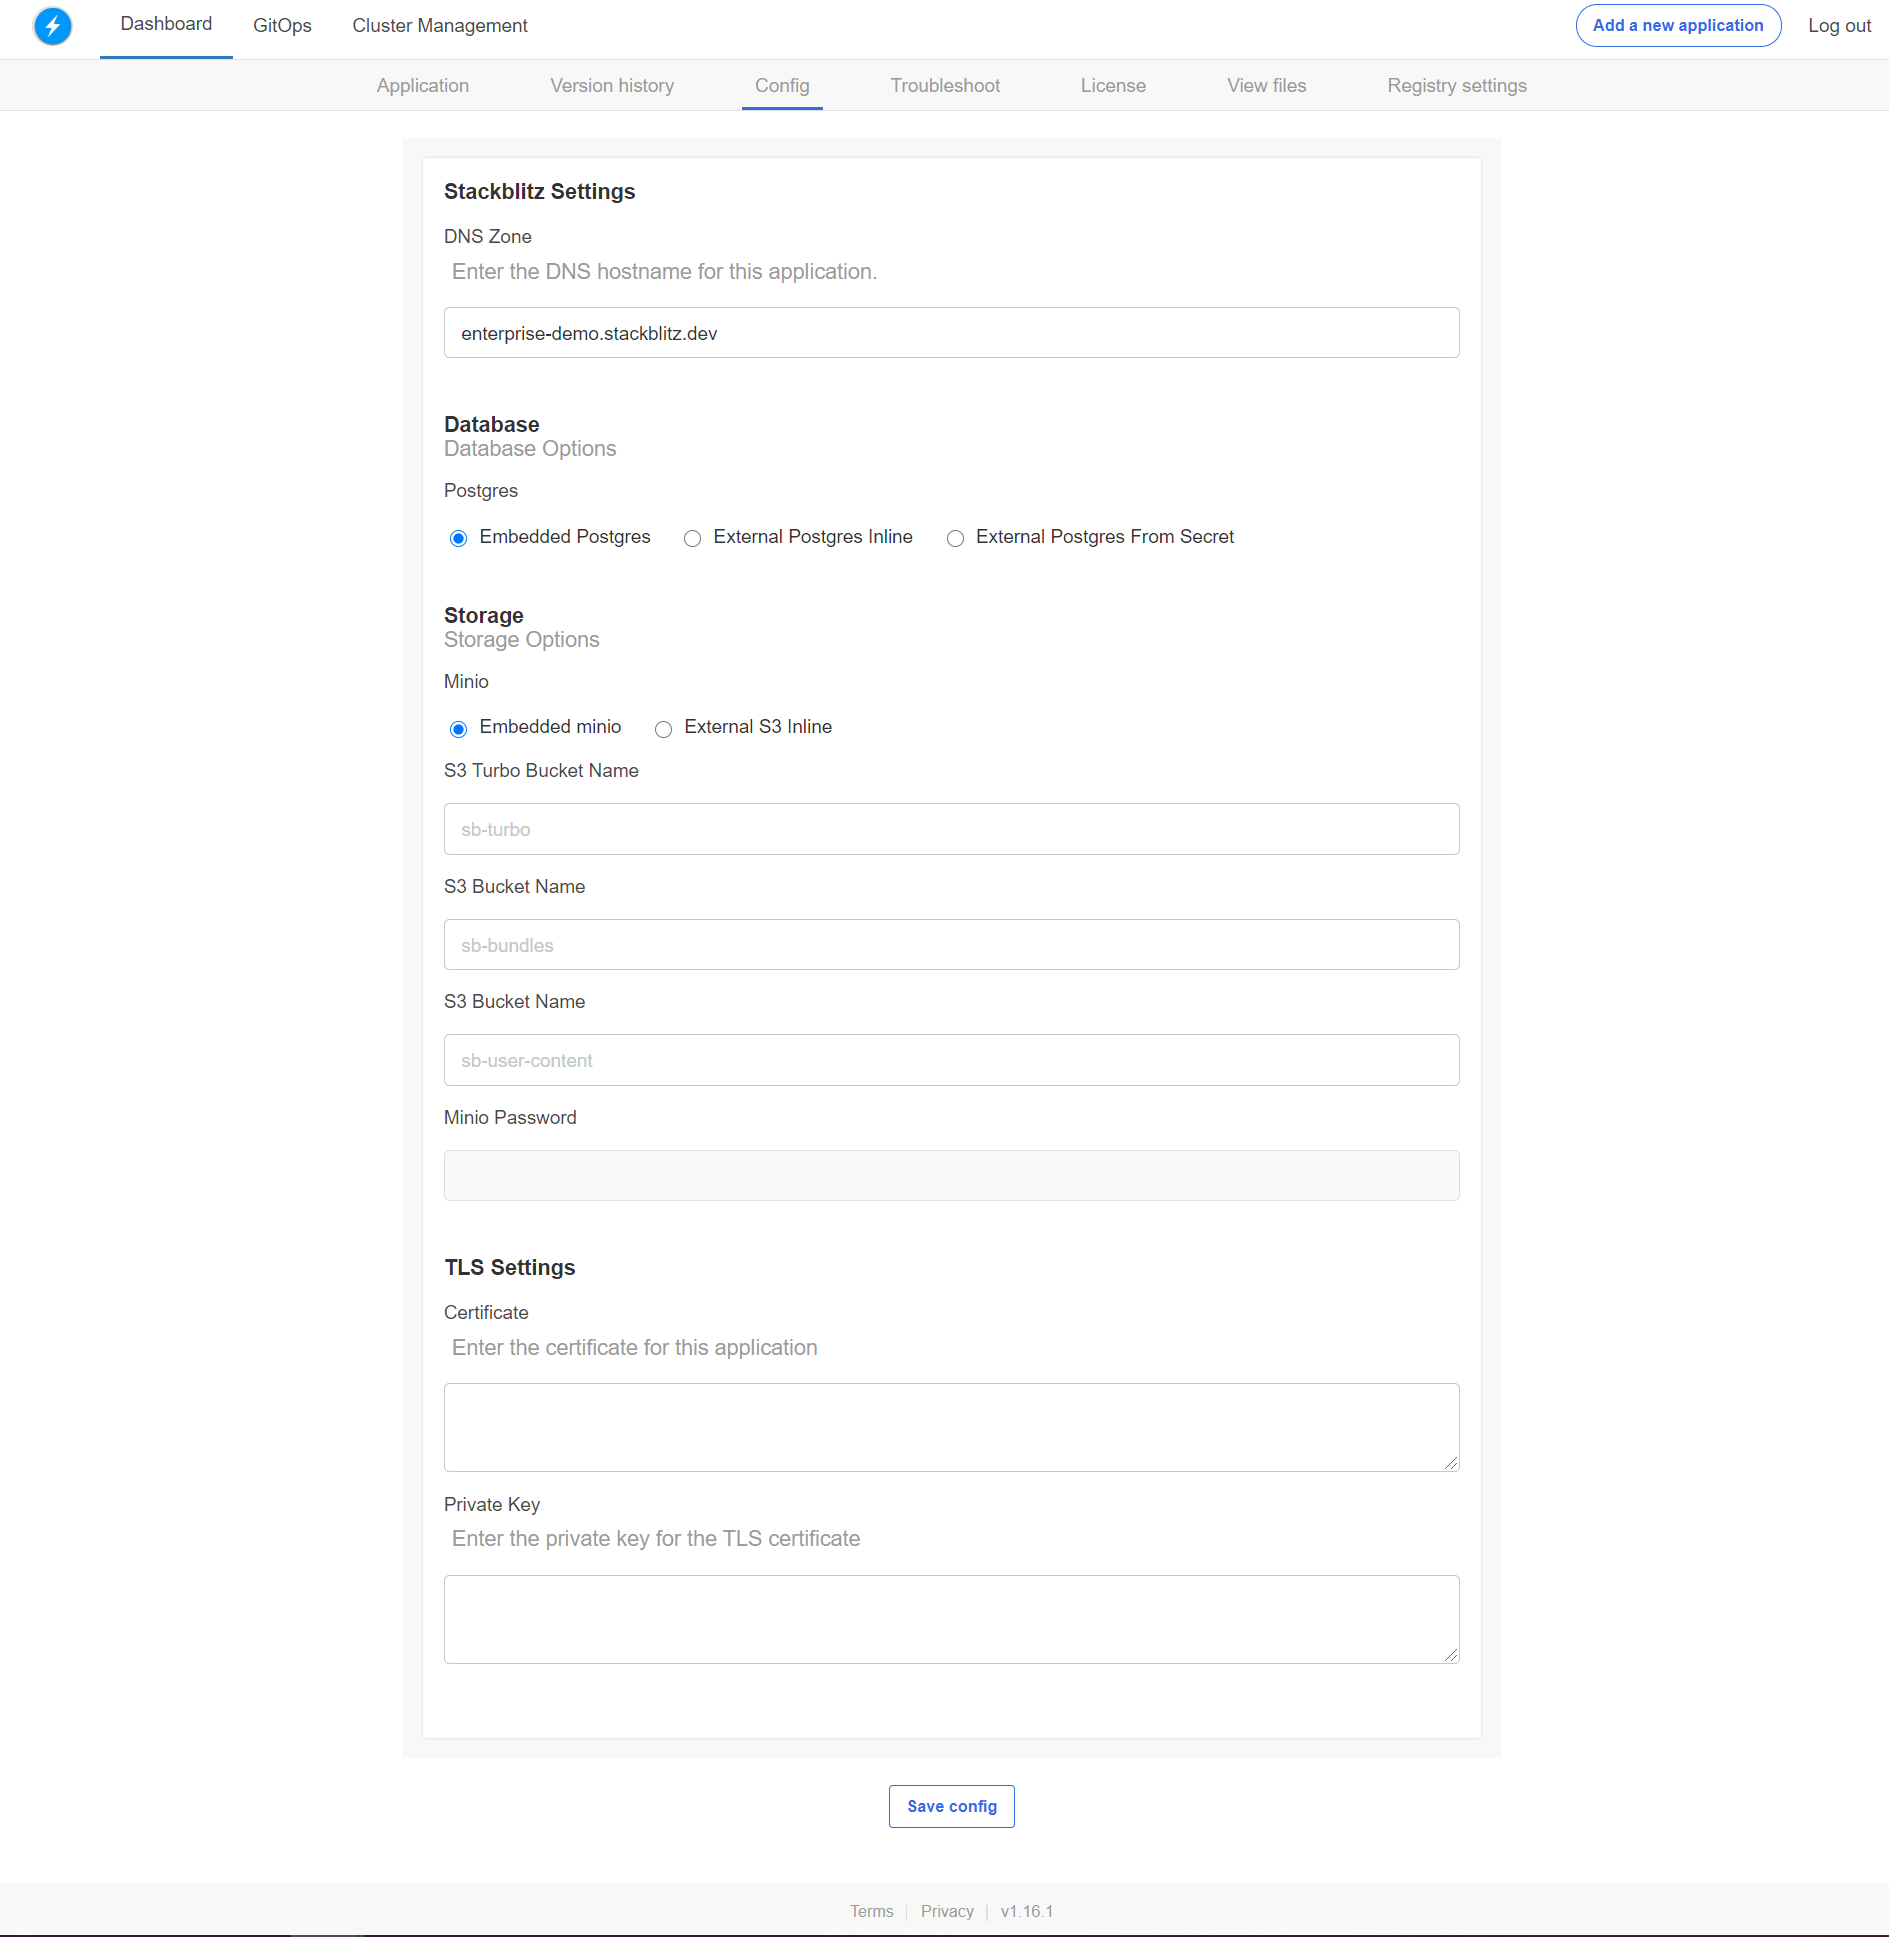
See the Config Options in the Administrator Guide for more details on each configuration option. After filling out the configuration fields, click "Continue". Your configuration will be saved. The Admin Console will deploy your configuration and begin to pull and run the images for StackBlitz. After your instance is up and running, you will need to Configure DNS Settings to point your DNS zones at the IP/CNAME of your ingress.
Need more than one instance?
With your StackBlitz Enterprise license, you can operate more than one instance at a time. This may be helpful if you want a separate cluster for staging, testing, etc.