Air Gapped Installs
StackBlitz supports air gapped installations for networks that have restricted outbound network access. Air gapped installs will not require outbound network access, but application and license updates will need to be applied manually.
Installing to an Existing Cluster
For the air gapped installations, you will need:
- the access to a container image registry where images from the air gapped bundle will be mirrored and re-tagged,
- an enterprise license with air gapping enabled; contact enterprise@stackblitz.com if you need one.
Downloading Releases for Installation
You will need to download the following from your StackBlitz Enterprise license page:
- a StackBlitz Enterprise Edition License,
- Kots CLI (if not already installed),
- Kots Admin Console release that matches the installed Kots CLI version,
- latest StackBlitz Enterprise release bundle (
.airgapfile).
If you need to create a support bundle for troubleshooting, you can also download the Support Bundle CLI.
On a workstation that has kubectl access to the cluster, run kubectl kots version to check if kots is installed. If it needs to be installed, you can run:
curl https://kots.io/install | bashor download the latest version from the StackBlitz license download page for an offline version.
Once kots has been installed, run kubectl kots version and download the corresponding Kots Admin Console release from the license download page. You should receive a file named kotsadm.tar.gz.
Installing the Admin Console
Once you have the kots and the matching Admin Console release, run the following command with your container image registry hostname and credentials to mirror the images required to run the Admin Console to your container image registry:
kubectl kots admin-console push-images ./kotsadm.tar.gz your.registry.hostname/your-stackblitz-namespace \
  --registry-username readwrite-username \
  --registry-password readwrite-password
TIP
If you wish to audit the StackBlitz application images before installing, you may also push the StackBlitz application bundle to your registry now as well by running the push-images command again with the StackBlitz bundle instead of the kotsadm bundle (all other options remain the same).
Next, begin the installation process by installing the Admin Console to your cluster, providing the details for your container registry:
kubectl kots install --kotsadm-registry your.registry.hostname \
  --kotsadm-namespace your-stackblitz-namespace \
  --registry-username readonly-username \
  --registry-password readonly-password \
  stackblitz
The installer will prompt for a namespace in which StackBlitz will be installed, and a password for the admin console.
Providing Your License and Bundle
There are a couple options for providing your license and bundle to your installation depending on your installation. If you are running kubectl on a local machine that has access to your cluster, you can access the Admin Console from localhost:8800 and provide the license and air gapped bundle from the browser. If you are running kubectl commands on a remote without port forwarding access, you can choose to provide your license and bundle using the CLI instead.
Using the Browser
After running the kubectl kots install command above, the Admin Console will be accessible from localhost:8800, and you can provide your license and bundle via the browser. You can re-run kubectl kots admin-console -n namespace-of-installation to access the admin console at any time after the installation. Once the Admin panel is up and running, you'll need to provide your license. If your license has air gapping enabled, you will be prompted for read/write registry credentials for mirroring the images from the .airgap bundle to your container registry.
If you've already uploaded the StackBlitz air gap bundle, check the box next to "Disable Pushing Images to Registry" to skip the image mirroring step.
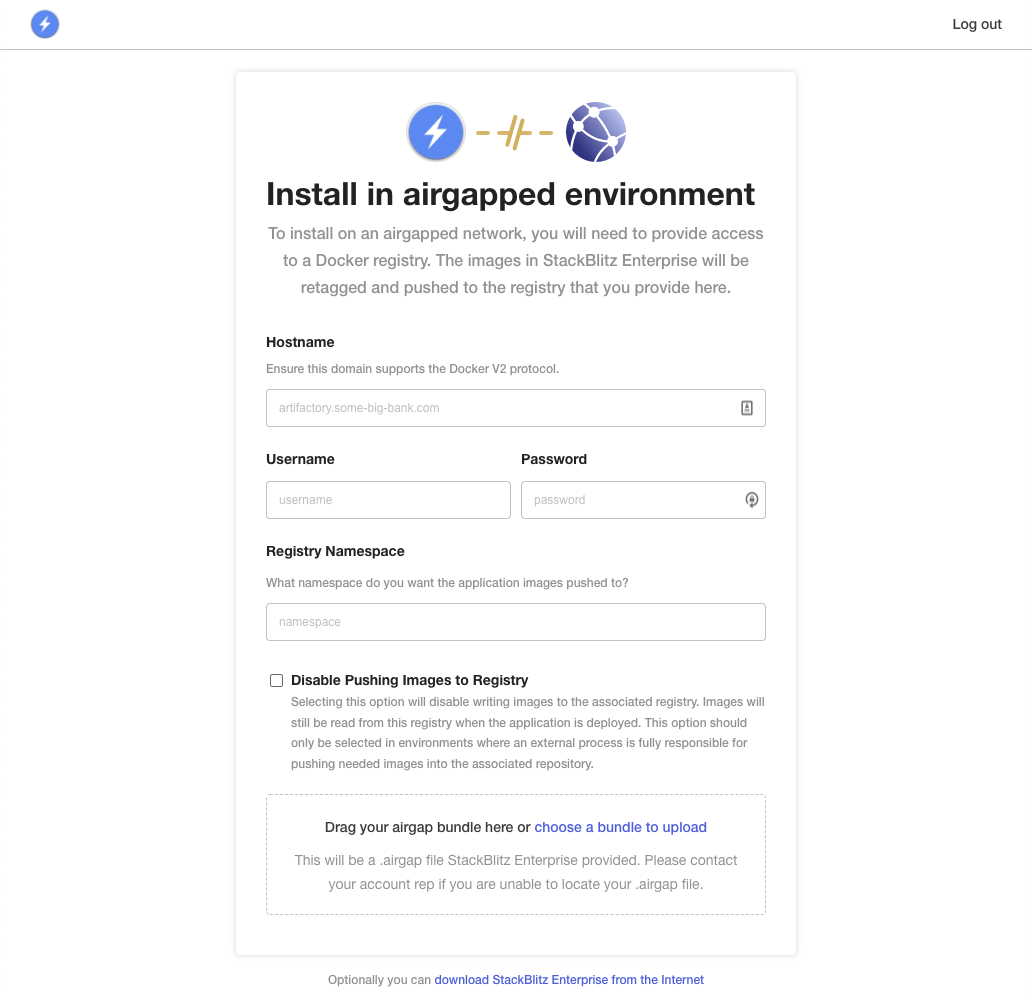
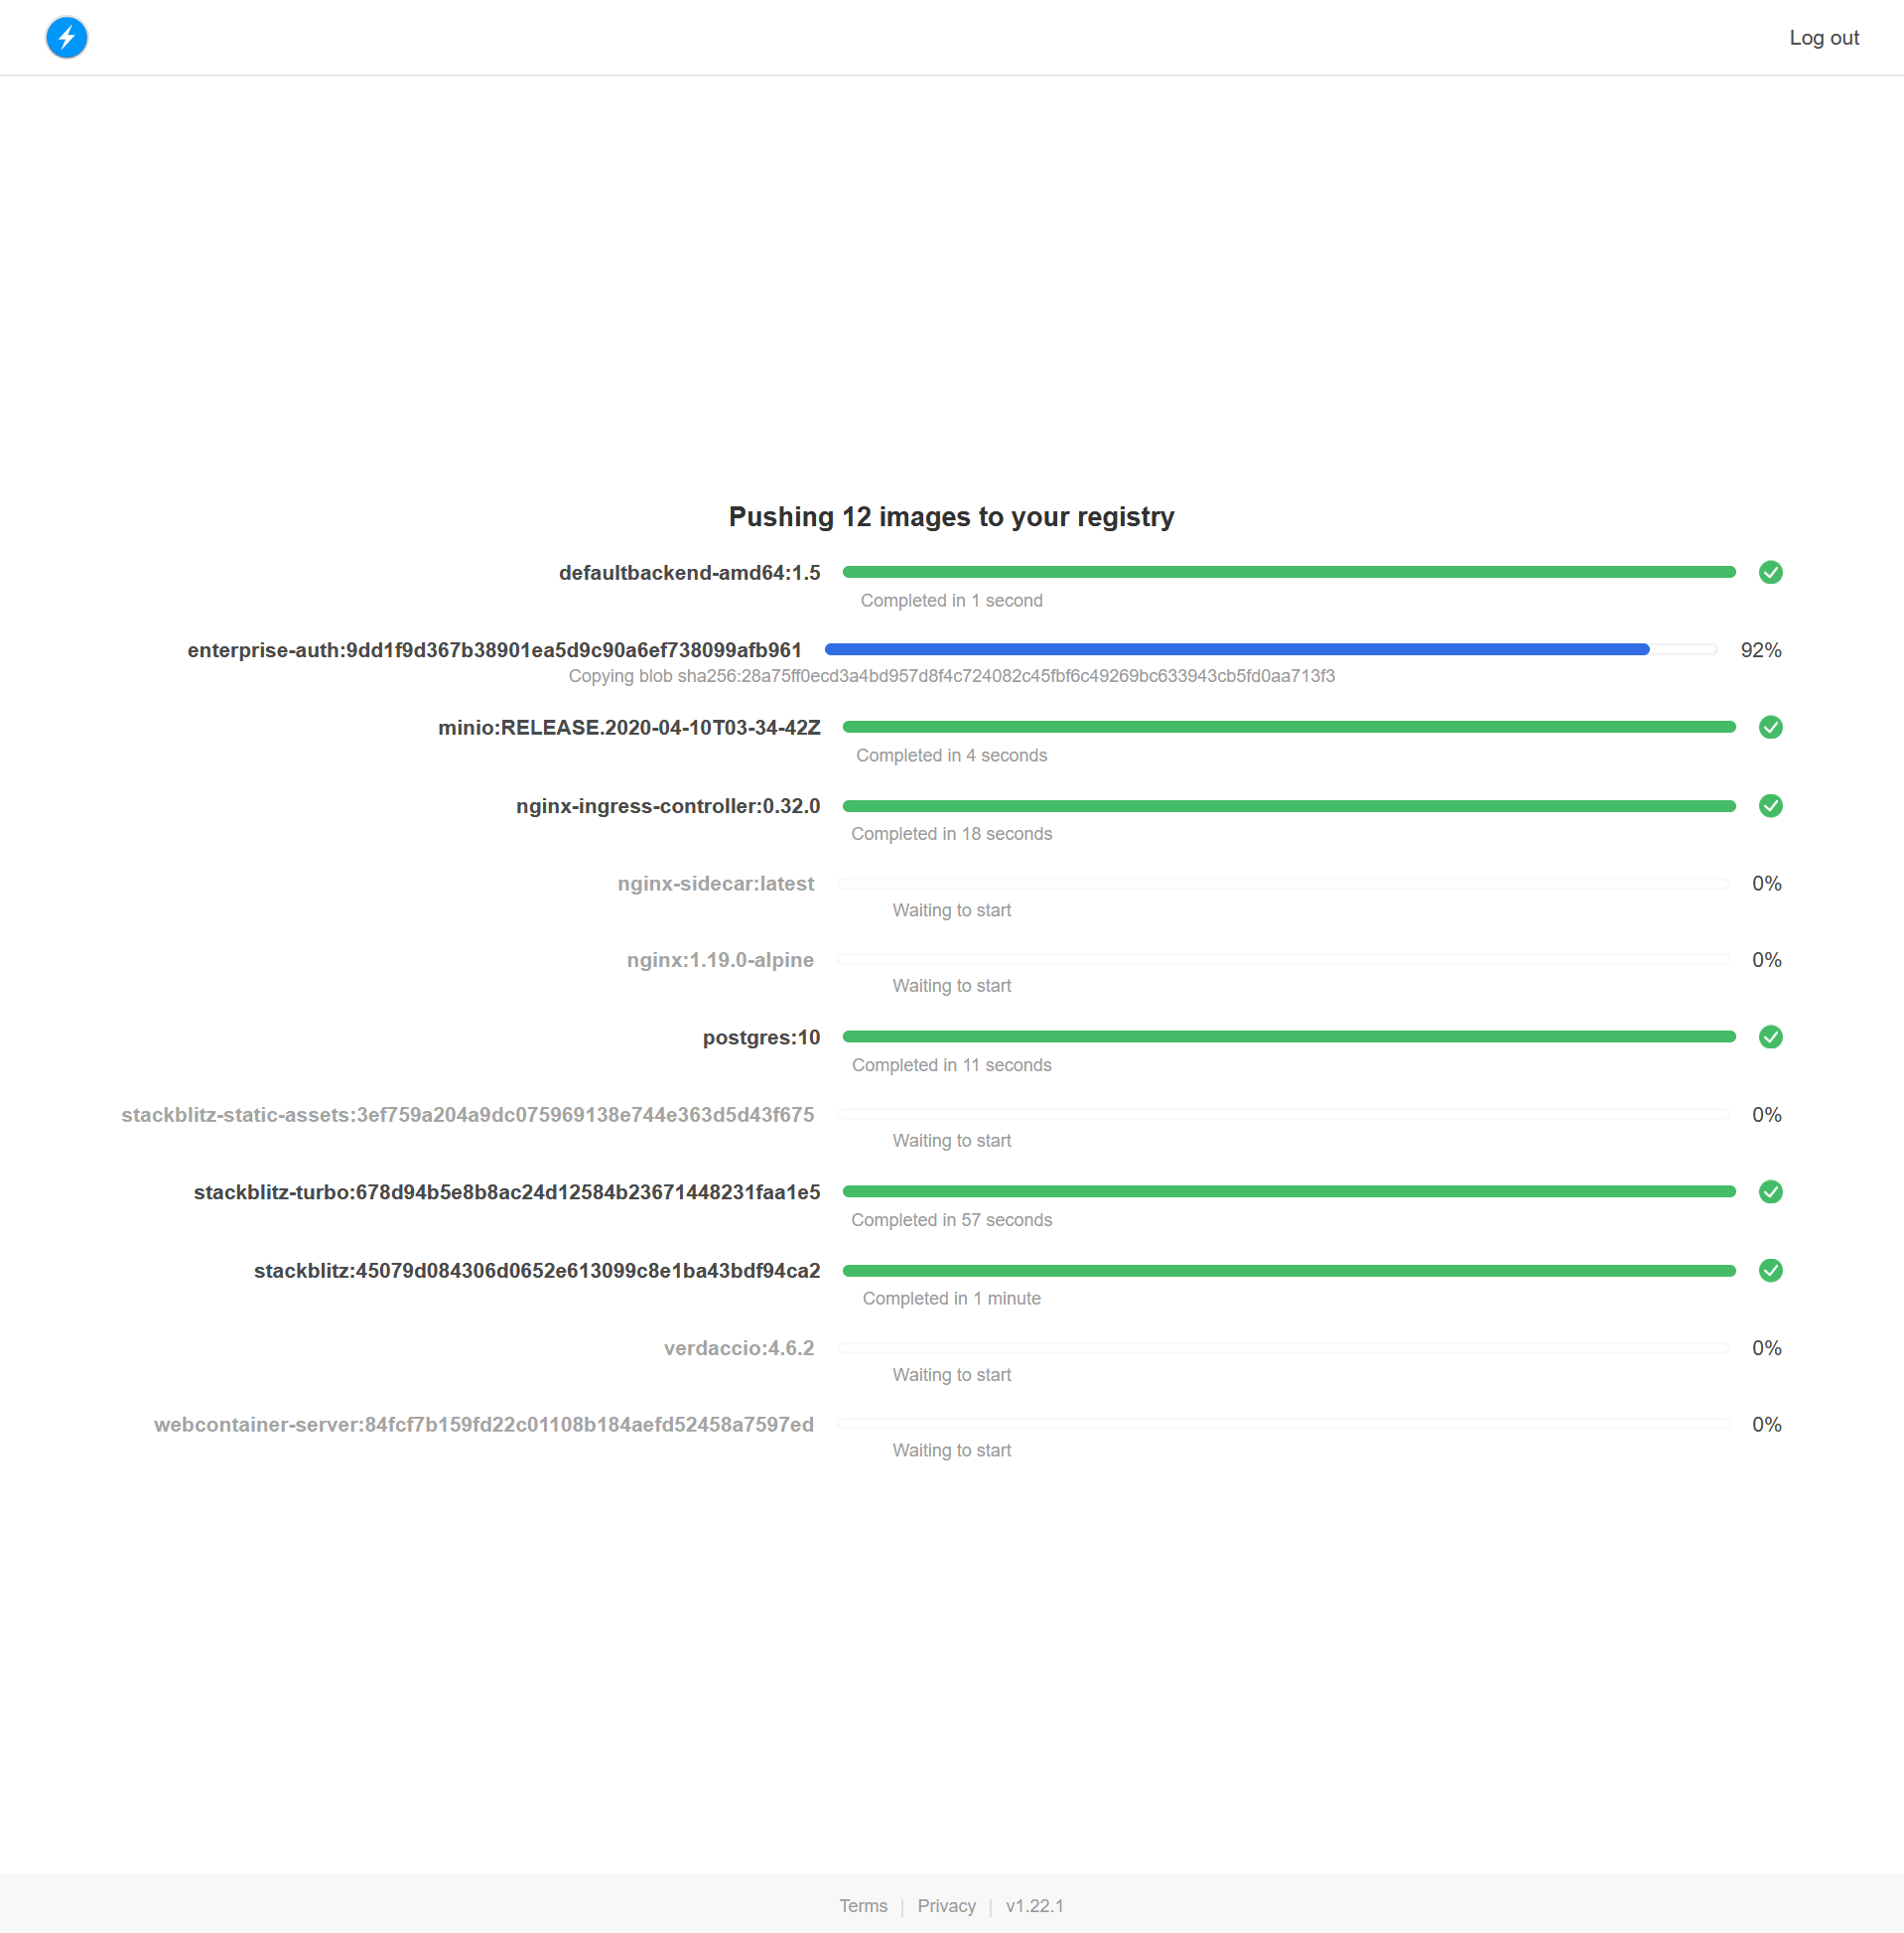
Once you've submitted your credentials and uploaded your air gapped bundle, the images will be mirrorred to your container registry and you will be prompted to configure your application.
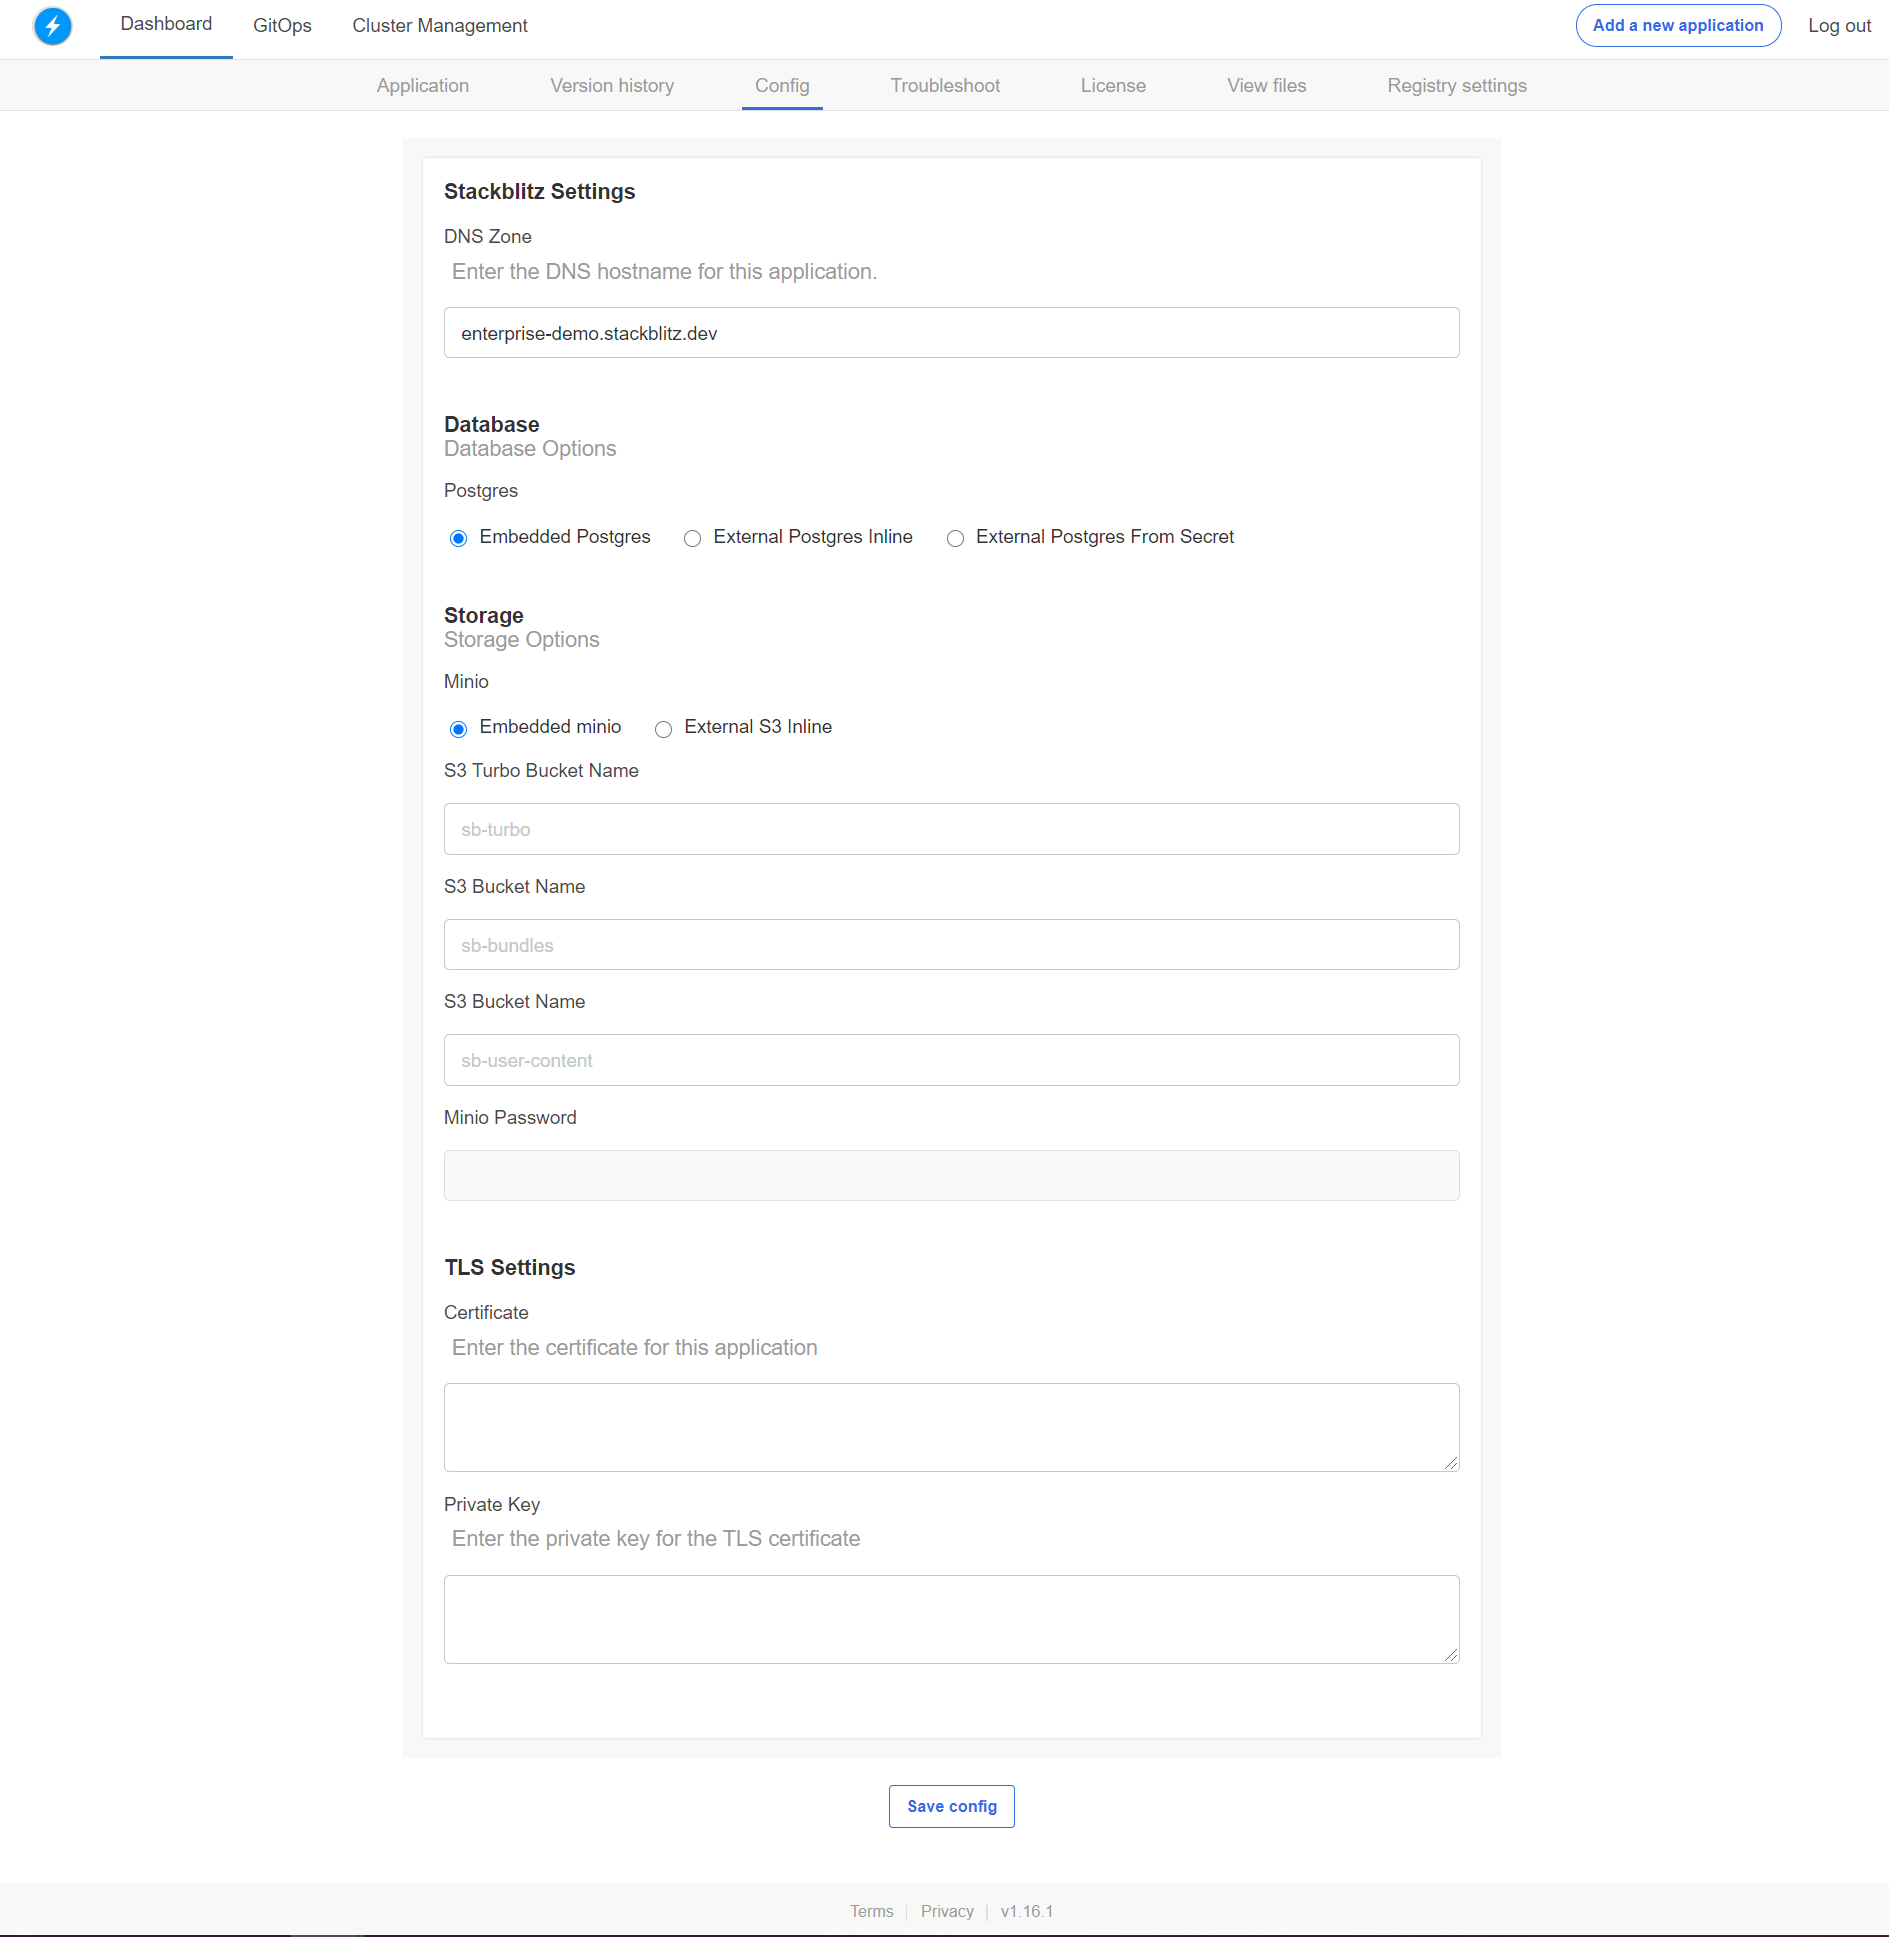
Check the Administrator Guide for more details on how to configure all of the options in the Admin Console.
Using the CLI
For installations where the browser is unable to provide the license and bundle, the CLI can be used instead. To complete an installation using the license and bundle, run the following command:
TIP
If you've already uploaded the StackBlitz application images previously, add the --disable-image-push option.
kubectl kots install app-name \
  [--disable-image-push \]
  --namespace app-name \
  --license-file ./license.yaml \
  --config-values ./configvalues.yaml \
  --airgap-bundle /path/to/application.airgap \
  --kotsadm-registry your.registry.host \
  --kotsadm-namespace your-stackblitz-namespace \
  --registry-username rw-username \
  --registry-password rw-password
If you have already provided your license using the browser, you can use the kots upstream upgrade command instead. To extract a new bundle to your registry and upload the release to Admin Console, run the following command:
kubectl kots upstream upgrade stackblitz \
--airgap-bundle StackBlitz.airgap \
--kotsadm-namespace <registry namespace> \
--kotsadm-registry <registry host> \
--registry-username <username> \
--registry-password <password> \
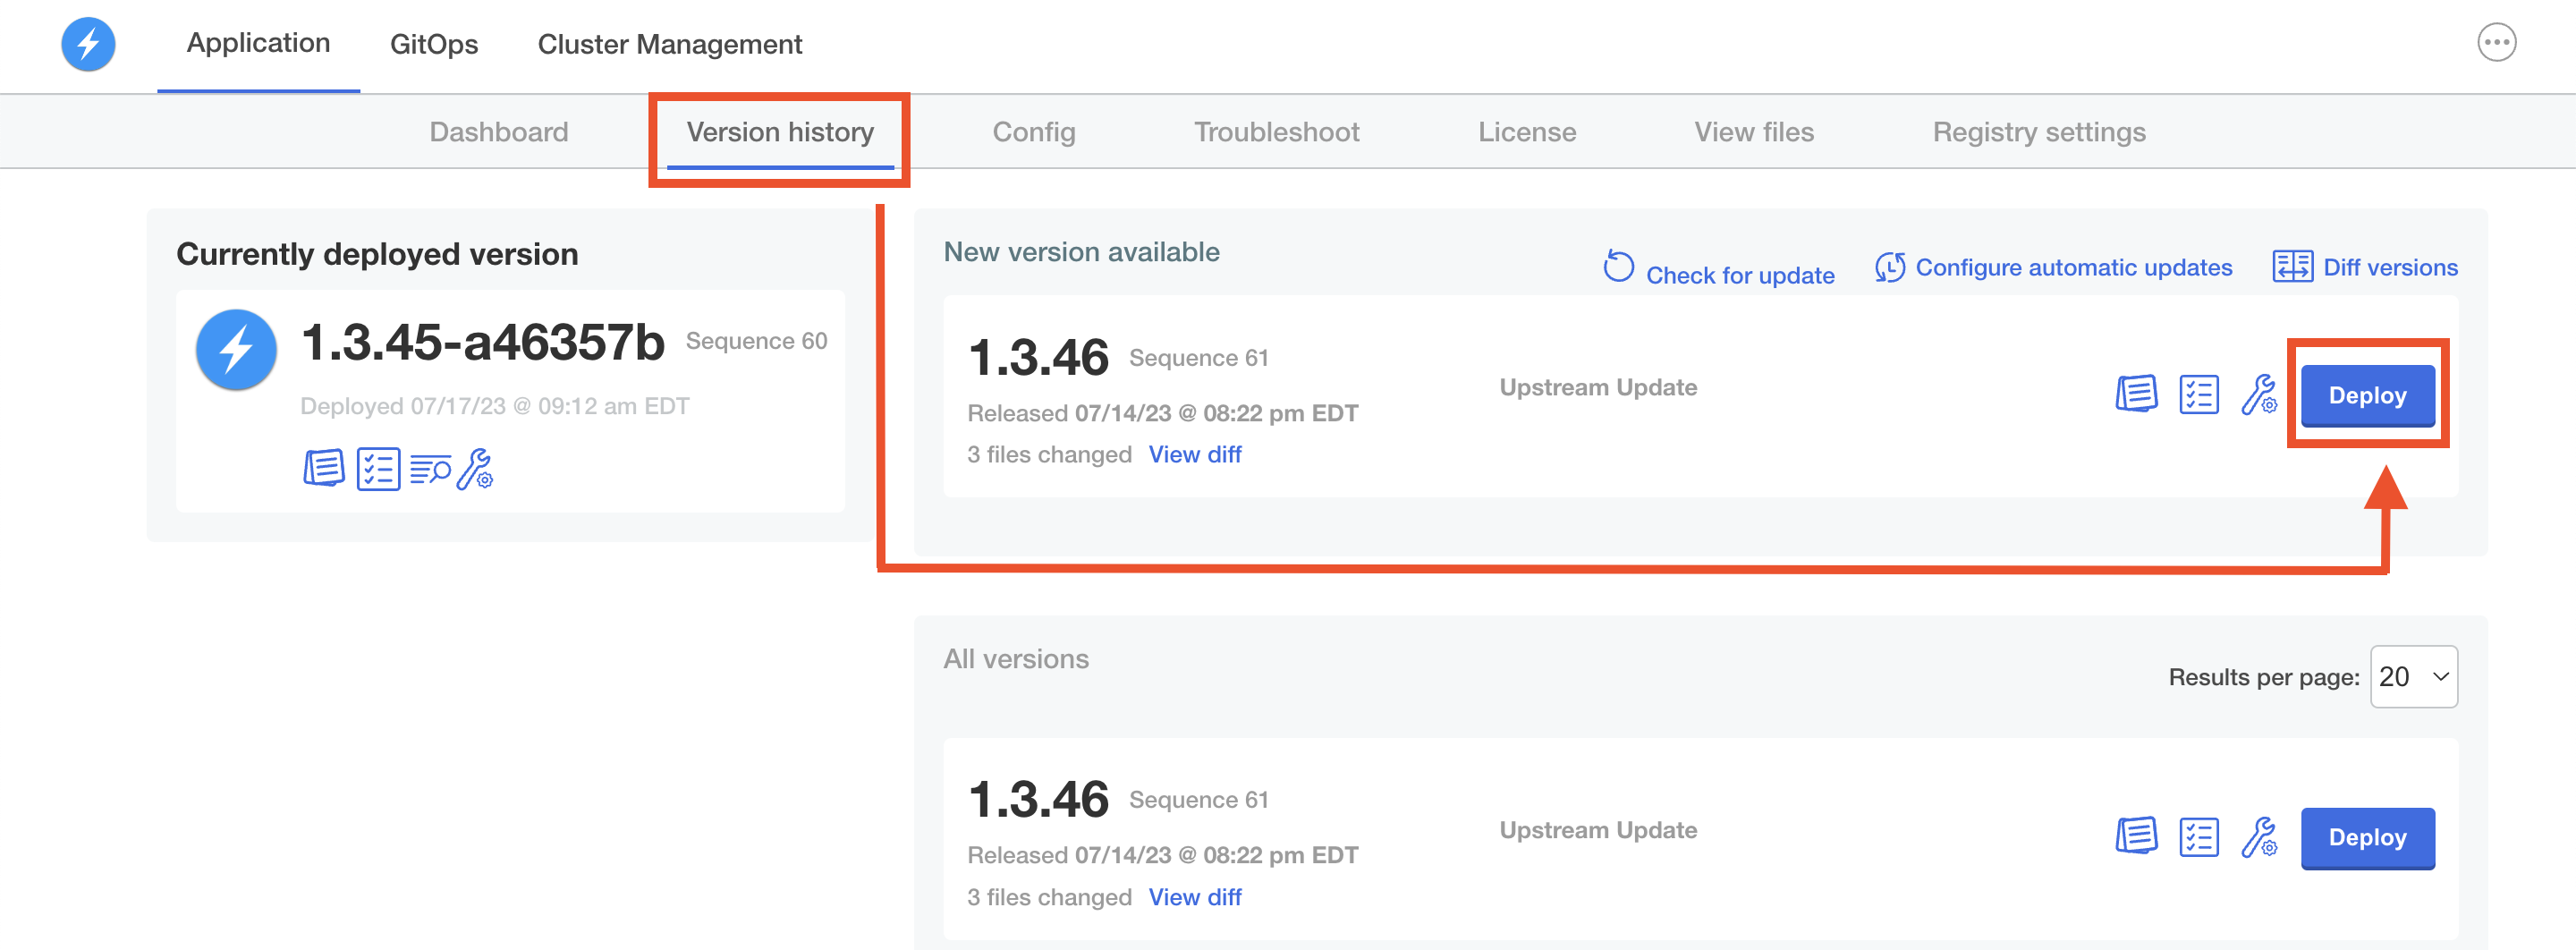
-n <admin console namespace>This will create a new release in the Admin Panel, where you can review the changes and update any configuration if necessary before deploying.
Optionally, the --deploy flag can be added to the previous command to deploy the release automatically.
Troubleshooting an Expired StackBlitz License
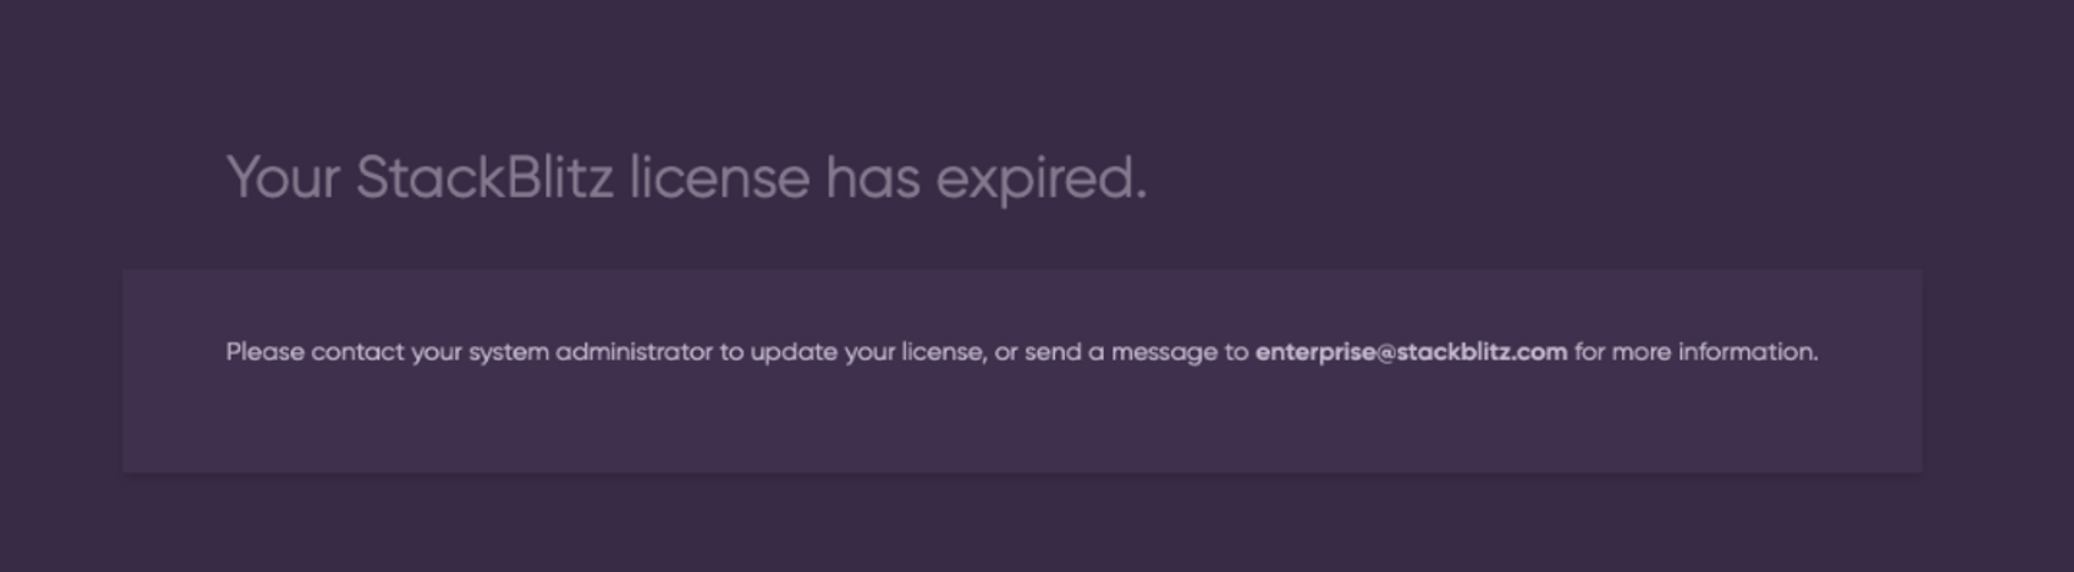
If you see an error message that says your StackBlitz license is expired, follow the steps below to update it:
Double-check with your admin or Customer Success Engineer to confirm if your license is actually expired or not.
If your license is not expired, go to the kots dashboard and click the sync button on your license tab. If the sync button does not give you access, go to the 'Version history' tab and deploy the new version that gets created after syncing your license. You’ll want to make sure you’re installing the latest “license changes” and deploy the new license.